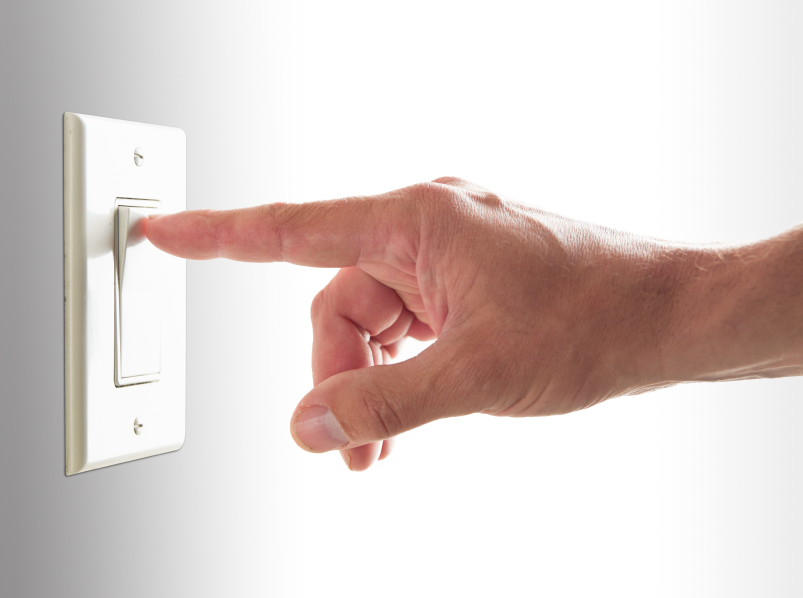
Being able to know how to install an electrical switch is practical—it can save you time and money if you can do it yourself. For major electrical work, you need to hire the services of a licensed electrician but minor repairs like installing an electrical switch can be done by almost anyone. Even without any previous experience in basic electrical work, a few simple instructions can help you do it like a pro. You just need the right tools and appropriate safety precautions.
Steps in Installing an Electrical Switch
1. Turn off the power.
Any project that involves electricity should be done with great caution. Before you start, switch off the electricity. Some people just turn off the fuse that controls power to that part of the house, it is best to turn off the power of the whole house at the circuit breaker to make sure you avoid electric shock.
2. Remove the outlet or switch plate cover.
Use a screwdriver to take out the screw and set them aside.
3. Be familiar with your wires.
The wires of an electrical switch are three different colors: black or red, white and green/bare. As you determine which is which, label them with a piece of masking tape so that you replace them to the same positions on the new switch.
There are usually two black or red wires attached with gold screws that are on the narrower plug-in slot of the outlet and one is live. The other black or red wire connects the switch to the light. The white wires will be on the wider slot side of the plug and are usually attached with silver screws. The bare or green wire will connect to the grounding screw which is one of the outlet mounting brackets.
4. Check out your switch.
When you buy two-way switches, they should have 2 terminal screws on one side, which will be connected to the black or red wires. There should also be a green grounding screw at the bottom part of the other, which will be hooked up to the green/bare copper wire.
5. Strip the wires.
Once you are familiar with the switch and the wires, you can strip ½ to 5/8 inch of the wire insulation with the help of a wire stripping tool or needle nose pliers.
6. Replace the old switch in the switch box with the new switch.
Pull the old switch out of the switch box. It should easily be removed. Now take the new one and put it into the same place.
7. Reattach the wires to the right screws.
Connect all the wires to the correct screws. You will need to use a wire nut (a twist-on wire connector) to do this, which you can buy cheaply at any hardware store. If you need it, place the wire ends inside the wire nut. Make sure that all screws are tight and that the wire contacts are solid.
8. Finish the job.
When the wires are screwed into place, put the cover plate back on. Then it’ll be time to turn on the power and flip the switch to see if it works. If it doesn’t, go back to step one.
That’s it!
You can surely save time and money by doing simple electrical repairs like installing a new switch yourself. Just be very careful in dealing with the wires because electricity is dangerous. And when you face more complicated electrical tasks, it is always best to hire a professional. You can find someone you can rely on if you let a good home warranty service provide the referral. At American Home Shield, no matter how big the job, we can help you get dependable service and you will always pay the low fee you selected for the house call.


